~ ~ ~ ~ ~
The wedding blogosphere indicates you need a cardbox. Some people in our lives have questioned this, but when I googled "Do I need a cardbox at my wedding?" much of the web evidence points to 'yes.' We decided to use a gray box we already had (a gift box from some shaving stuff Mr. FW received last year - cuz, ya know, he shaves now). It was the perfect size and, yes, free. While I was taking a post-wedding-meltdown nap one day, Mr. FW put his spin on our cardbox. He said to me, "If this were just my wedding, this is the way I would do the cardbox."


He was afraid I would post this picture here to make fun of him, but I'm really not. I post it as evidence of what our strengths and weaknesses are in this relationship. Mr. FW's strength has always been functionality. He took a box that had a lift-off lid and he used painter's tape (in our wedding color!) to create a "hinge" on the back of the box. It works like a dream! Then he used my craft machines and paper to make the letters.
My strength is aesthetics.

And here's the tutorial:
First I used my die cutting machine (the Big Shot) to cut out the skyline image, which I then backed in white. An adhesive eraser removed the excess adhesive showing in the windows or around the edges.


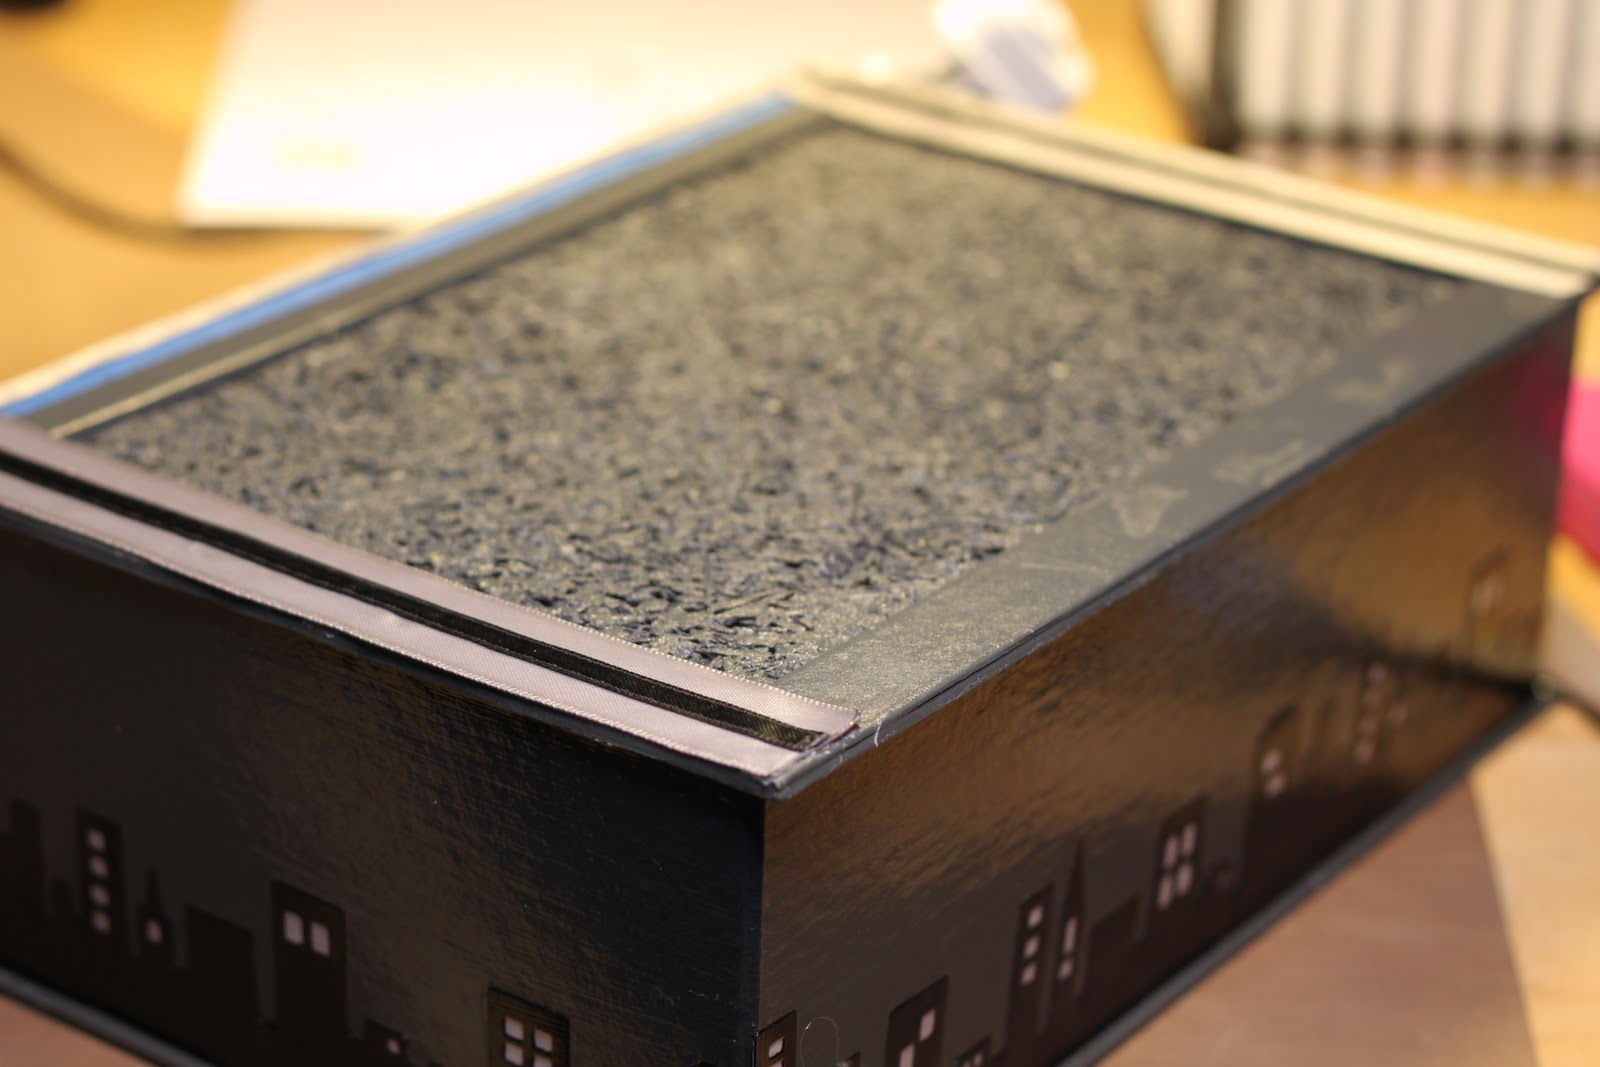
Then I used Mod Podge (gloss finish) to secure the skyline cutout to the box and seal over the top of it. Using a foam brush, I painted Mod Podge onto the box, stuck on the syline paper, and then painted more on the top. I did about 4 layers of Mod Podge without waiting for it to dry in-between. When it's wet, it's white like this.

After it dries, it looks like this.

I was surprised how much the color of the paper changed in this process. On the left side is the Mod Podged paper, and on the right side is the black paper beforehand.

And so you don't make the same mistake I did, make sure to prop your box open before applying the Mod Podge. Otherwise you will have to use an Exacto knife to pry open your box, like I did. Which I "fixed" with a gray marker.

Then I moved on to the ribbon border on the lid. I cut the ribbon to length and sealed the edges with a flame. I then attached it to the back "hinge" on the box with hot glue. I ran dots of hot glue about 1/2 inch apart, a few at a time (so they wouldn't dry before I could put the ribbon on).


Next I assembled the "striped" ribbon, layering a thin black ribbon on top of my silver ribbon. I cut two lengths to do the left and right sides of the lid, sealed the ribbon edges, and attached them to the lid.

For the top and bottom edges of the lid, I cut my lengths a little longer than the lid itself so that I could wrap them around to the bottom side, which creates a more finished look.


Now the box just needed a sign. I created the digital layout for the cut file with the program that my Bosskut Gazelle uses.

I cut out two pieces, backing the blue paper with white so there was a border and the letters would clearly show through. I attached it to the lid with minimal adhesive so that I could easily take the sign off later and reuse the box for other purposes.

In order to prop up the lid, I "cut" a length of wire (from a wire hanger) by bending it back and forth repeatedly in the same spot until it snapped. This is easier if you use a pair of pliers to hold the wire still. Coloring it black with a permanent market made it blend in better. I made an L-shaped bend on both ends, hot gluing one bend to a bottom interior corner of the box, then the other to the bottom of the lid. I only put the minimal amount of hot glue necessary to hold the wire because I want to later take the wire out and allow the box to close fully again.


Voila! There you have it. A DIY-chic-unique card box that cost almost nothing to create and can be reused for other purposes in the future.
Where do you stand on the cardbox / no cardbox issue?
What a neat little box! Trying to find people who have die cutting machines to enter a giveaway on my blog for a cutting die. Not many entries and it ends tomorrow. :)
ReplyDeletehttp://www.cutesycrafts.com/2013/02/lifestyle-crafts-giveaway.html